Back to article
3348
Setting up your product
Learn how to set up your product, connect components and enjoy the benefits of all its features.
Set up the Smart Ultra Soundbar.
Before you begin
- Install the Bose app
on your Apple or Android mobile device. For more info, see Downloading the Bose app
- Turn on Bluetooth® on your mobile device
- If using a wired Internet connection, connect an Ethernet cable from the <...> jack on the soundbar to an router or access point
- If you've already connect the soundbar to power, the light bar on the front should be glowing amber. If it isn't, you will need to put the soundbar into Setup mode. For instructions, see Putting a system into Setup mode
Set up your soundbar
- If the soundbar is not connected to power, connect a power cord from the soundbar to a power outlet. The light bar will blink for approximately 30 seconds as it powers up, then glow amber
- On your mobile device, open the Bose app. If you are not signed in, sign in or create an account
- If prompted to allow Location Service, Local Access Network, or Bluetooth® permissions for the app, allow them. These functions are used so the app can detect and control your product. If you do not allow them, the app will not find your product
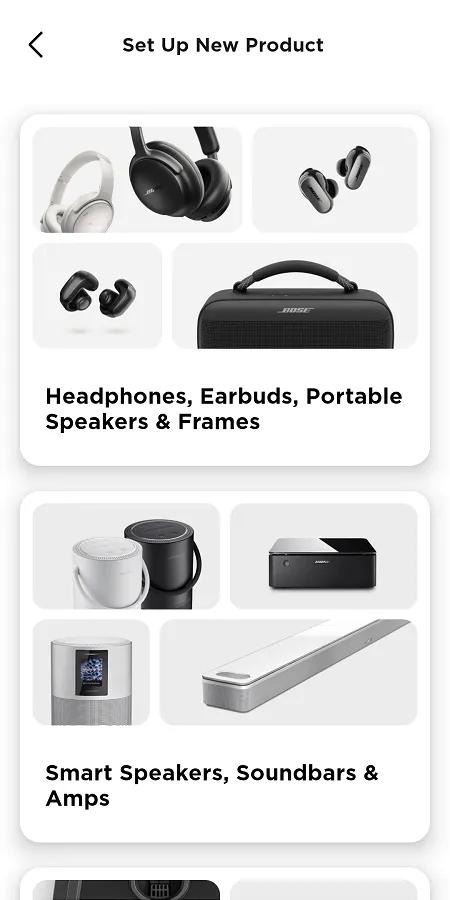
- Select Smart Speakers, Soundbars & Amps. The app will begin to search for products (in Setup mode) compatible with the Bose app
- If product image shown is not your soundbar, swipe left to see other products, then tap Add.
If the Set Up New Product screen does not appear, tap the My Bose iconin upper-left corner, then tap the + to add a product
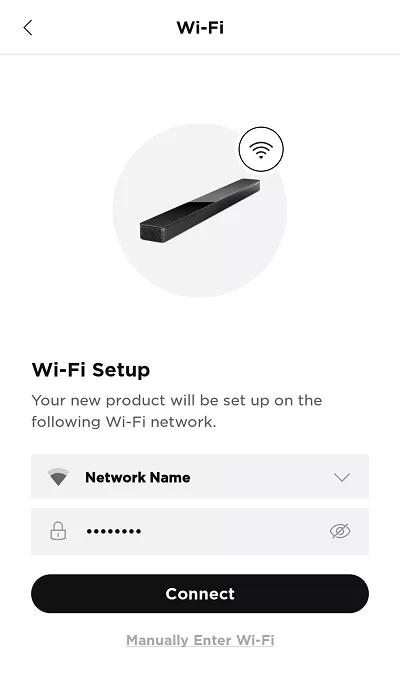
If the app cannot find your product, see App does not detect Wi-Fi product during set up - Select your wireless network and enter the network password, then tap Connect
For hidden networks, tap Manually Enter Wi-Fi, then enter the network info - Select a name for the soundbar or enter a custom name, then tap Save at the bottom of the screen
- On the Sharing screen, select Yes to let other Bose app accounts on your network use this product also. Or, select No Thanks to keep this product only on your account
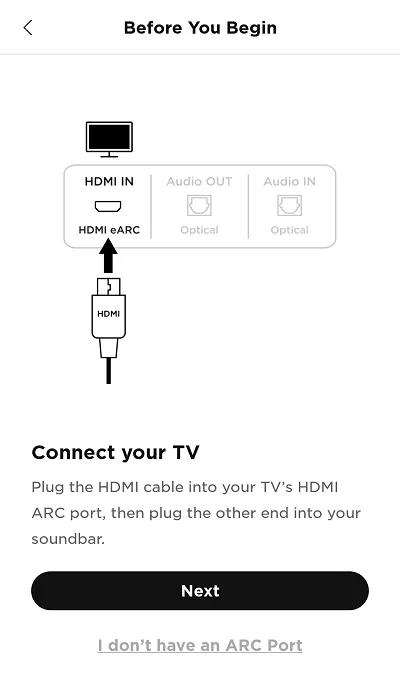
- Connect an HDMI cable from the HDMI ARC jack on the soundbar to the HDMI ARC (or eARC) jack on the TV, then tap Next
- HDMI ARC (Audio Return Channel) lets the TV to send audio to your soundbar. If the TV does not have an HDMI connection labeled ARC or eARC, use an optical cable to connect the TV to the soundbar
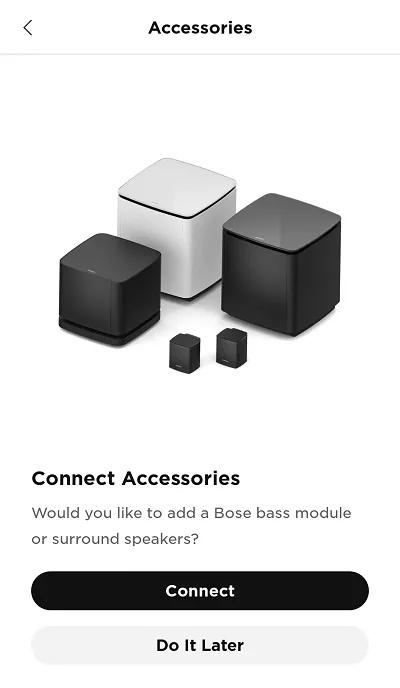
- If you're using the accessory bass module or surround speakers, tap Connect; otherwise, tap Do It Later
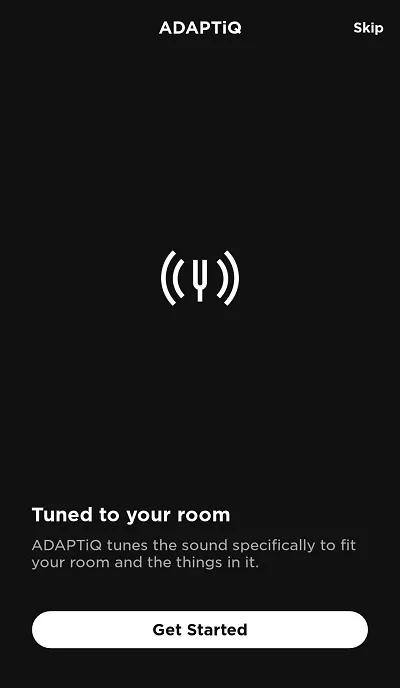
- On the ADAPTiQ screen, tap Get Started to optimize sound quality. For more info, see ADAPTiQ system setup and deactivation
Calibration is recommended and typically takes a few minutes. To do this later, tap Skip in upper-right corner
- Select the voice assistant you want to use and follow the app instructions to add it. If you don't want to use an assistant or want to add one later, tap Skip in the upper-right corner. For more info, see Adding or removing the Amazon Alexa voice assistant.
- Tap Get Started to start using your soundbar
Was this article helpful?
Thank you for your feedback!


